Keeping Your West Brompton Interiors Safe During Floor Refurbishment
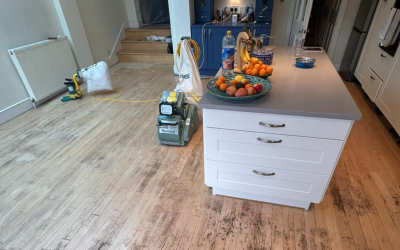
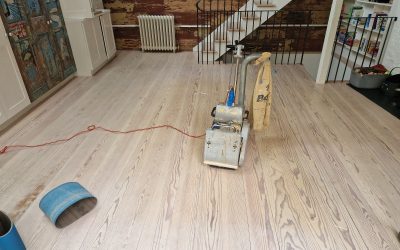
If you are planning a wood floor refurbishment in West Brompton, protecting your interior decor should be part of the project plan from the very beginning. Floor sanding may transform tired boards, parquet, or original timber into a cleaner, brighter and more valuable feature, but without proper preparation it can put paintwork, soft furnishings, artwork, curtains and delicate accessories at unnecessary risk. The good news is that a well-organised refurbishment process can restore your floor while keeping your home orderly, presentable and far less stressful to live through.
In period flats, townhouse conversions and busy family homes around West Brompton, the most successful projects are the ones that treat the property as a whole rather than focusing on timber alone. That means assessing furniture movement, protecting skirting boards, planning access routes, controlling dust, allowing for drying and curing times, and choosing the right finish for the way the room is used. Whether you are refurbishing original pine boards, engineered flooring or parquet blocks, the real goal is not only a beautiful floor but a finished room that still feels cared for from corner to corner.
Why decor protection matters as much as the sanding itself
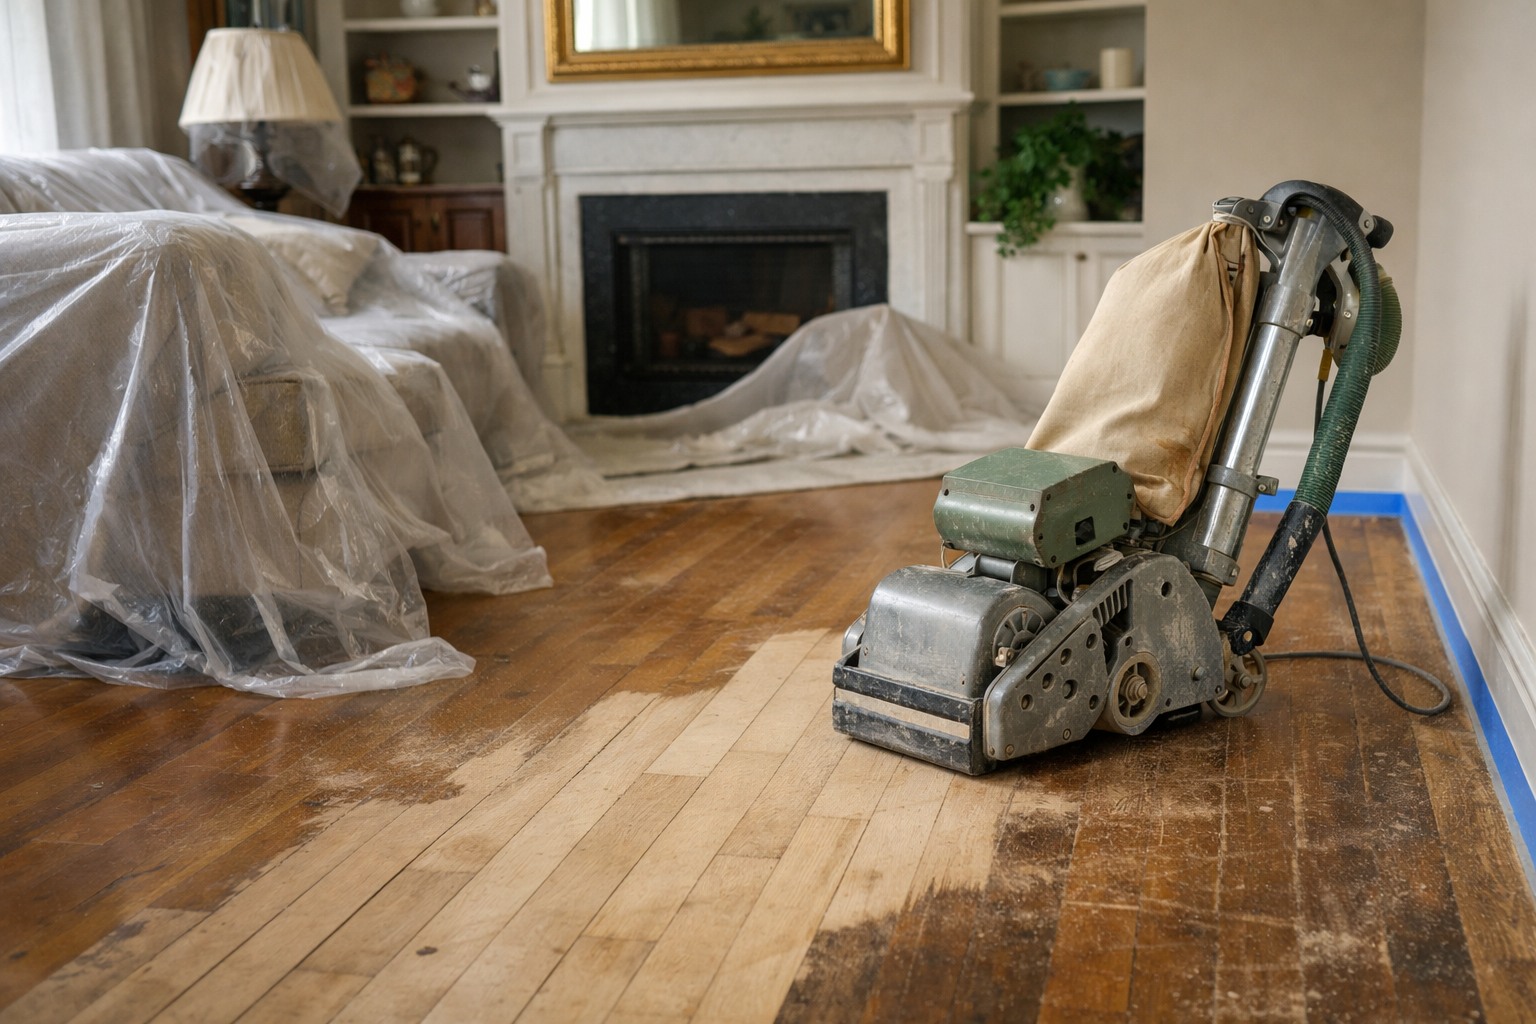
Many homeowners think first about the sanding machine, the colour of the stain, or whether to choose lacquer or oil. In reality, decor protection has a direct effect on the quality of the job. If furniture is left in the wrong place, if curtains and fabrics are exposed, or if fragile decorative items are not removed properly, the work area becomes slower, riskier and harder to control. A professional floor refurbishment should create a clean working envelope around the floor so that the sanding team can operate efficiently without compromising the rest of the room.
This is especially important in West Brompton homes where interiors are often carefully styled. You may have painted joinery, neutral walls, bespoke shelving, upholstered headboards, antique sideboards, framed prints, pendant lighting, plants or delicate soft furnishings that all sit within a relatively compact London layout. In that kind of environment, protecting decor is not a cosmetic extra. It is part of good project management.
It also reduces hidden costs. Decorative damage often happens through avoidable errors such as dragging furniture, allowing fine sanding residue to settle on porous fabrics, leaning tools against finished walls, or reopening a room before the finish has cured properly. Prevention is far more cost-effective than repairing a scuffed skirting board, repainting a marked wall or replacing a stained rug.
Start with a room-by-room refurbishment plan
The best way to protect interior decor is to avoid improvisation. Before any sanding begins, each room should be assessed in practical terms:
- What furniture must be removed completely?
- What can be relocated safely to another part of the property?
- Which decorative items are fragile, valuable or dust-sensitive?
- Are there wall finishes, panelling, radiators or fitted units close to the working area?
- Will access routes pass through hallways, staircases or adjoining finished rooms?
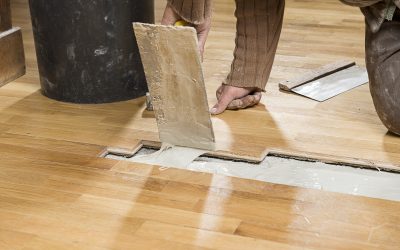
- Is the floor solid wood, engineered wood or parquet, and how will that affect sanding depth and finishing?
This planning stage is also where household routines should be considered. If the property is occupied during the works, you need to decide which rooms remain usable, where pets will stay, how children will move through the property and which items should be stored off-site for peace of mind. A proper sequence prevents the classic problem of moving everything twice.
Clear the room properly, not partially
One of the most common mistakes homeowners make is leaving too much inside the room. Even where dust-controlled sanding systems are used, floor refurbishment still works best when the room is stripped back as far as possible. Rugs, lamps, side tables, freestanding shelving, floor mirrors, baskets, artwork resting at low level, plant stands and decorative stools should all be removed before the team arrives.
Soft furnishings matter most. Curtains, fabric blinds, throws, cushions and upholstered pieces can trap fine airborne particles and odours. If they cannot be removed entirely, they should be sealed away from the work zone. This is also the right time to empty lower shelves, media units and open storage where decorative objects may be exposed.
If you need help with logistics, it is worth factoring this into the project cost from the outset. The West Brompton site’s live pricing page shows furniture moving as a separate charge, which reinforces why planning the room in advance helps avoid disruption on the day.
How professionals protect skirtings, walls and fitted decor
Good floor refurbishment is not only about sanding technique. It is also about edge discipline. The perimeter of the room is where decorative elements are most vulnerable: skirting boards, architraves, built-in cupboards, stair spindles, fireplace edges and painted thresholds all sit close to sanding and finishing work.
Protection normally includes:
- Masking sensitive edges before sanding and coating
- Using controlled edge sanding rather than aggressive passes against trim
- Shielding lower walls where equipment movement is tight
- Protecting hearths, metal trims and transition points
- Creating safe zones for tools, abrasives and finishing materials
In older properties, special care is needed around uneven skirtings, original fireplaces and narrow room proportions. Decorative preservation is partly technical and partly behavioural. Tidy workflows, disciplined tool handling and controlled material placement make as much difference as the machines themselves.
Dust control is essential, but it does not replace preparation
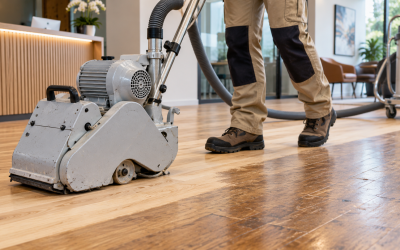
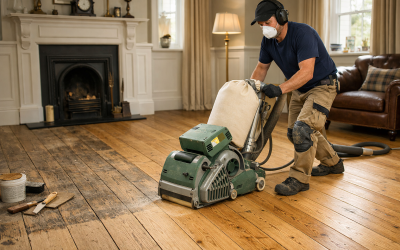
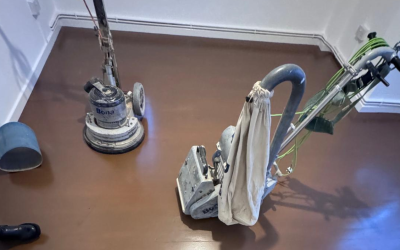
Modern sanding systems can dramatically reduce airborne dust, and the West Brompton homepage specifically advertises 99% dust-free sanding. That is a major benefit for decorated homes, especially where owners are worried about mess in adjacent rooms. However, dust-controlled does not mean zero preparation. Fine particles can still travel during entry, edging, cleanup, waste handling and room ventilation if the space has not been isolated properly.
That is why decorators’ sheets, doorway management, sealed storage for vulnerable items and careful post-sanding vacuuming still matter. Dust collection also needs to be handled responsibly during the work itself. Industry guidance notes the importance of monitoring and emptying dust collection bags safely, especially where nails or metal contact may create sparks during sanding.
For homeowners, the practical takeaway is simple: choose a contractor who combines modern equipment with careful room preparation, rather than relying on machine claims alone.
Protecting fabrics, artwork and decorative surfaces
Some decorative items are far more vulnerable than they appear. Fabrics can absorb dust and finishing odours. Artwork may be affected by vibration, accidental knocks or environmental changes during the job. Glass surfaces, polished furniture and dark-painted cabinetry tend to show residue quickly. Plants can also suffer if moved too late or left in changing room conditions.
A sensible protection checklist includes:
- Remove framed pictures, mirrors and lightweight wall decor from low-level walls
- Take down curtains where possible
- Relocate rugs and textile accessories completely out of the work area
- Cover fixed decorative surfaces in adjoining zones
- Store valuable or fragile accessories in sealed boxes away from the project
- Keep electronics, speakers and media equipment out of sanding rooms
In design-led interiors, this stage is worth treating almost like a small home move. It feels excessive until you compare it with the risk of damage to a carefully layered room scheme.
Choosing the right finish helps protect the whole room
Finish choice affects more than appearance. It influences odour, curing schedules, room downtime, maintenance expectations and how quickly decor can be moved back into place. In busy West Brompton homes, that decision often comes down to lifestyle.
Lacquer for faster return to service and strong surface protection
High-performance waterborne lacquers are a common choice where owners want a durable surface with reduced odour and predictable drying behaviour. Bona’s current technical data for Bona Traffic HD states that it is a two-component waterborne coating with low odour and VOC content below 5%, and that it allows full traffic after 12 hours, with full cure in 3 days depending on the version referenced. That makes it attractive for households where the room needs to come back into use quickly, though heavy furnishings and rugs should still be reintroduced carefully and in line with site-specific advice.
Hardwax oil for a more natural look and easier local maintenance
For homeowners prioritising a warmer, more natural aesthetic, hardwax oils remain popular. Osmo states that Polyx-Oil Original is dirt-resistant, water-repellent and abrasion-resistant, with a microporous finish that does not crack, peel or flake. That can suit interiors where visual softness and maintainability matter more than the sealed-film look of lacquer.
The key point for decor protection is timing. You should never rush furniture, rugs or decorative styling back into the room simply because the floor feels dry to the touch. Drying and curing are different things. A floor may be walkable before it is ready for full decorative reinstatement.
Do not move furniture back too early
Once the sanding and finishing are complete, homeowners are often tempted to “put the room back together” immediately. This is one of the biggest risks to both the floor and the decor. Premature reinstatement can mark the new finish, trap solvents, compress soft coatings, stain the surface under rugs, and lead to scraping damage from furniture legs or metal bases.
The smarter approach is staged re-entry:
- Allow the floor to dry and ventilate according to the finish system used.
- Reintroduce essential access first, with socks or clean indoor footwear only if advised.
- Return large furniture carefully using lift-and-place handling, never dragging.
- Fit felt pads before furniture goes back.
- Delay rugs and heavy decorative layering until the finish has had proper curing time.
This is where many beautifully decorated homes either preserve the result or accidentally undermine it within the first week.
Special considerations for West Brompton flats and townhouses
Local property style changes how refurbishment should be managed. In West Brompton, many homes involve converted flats, hallways with shared access, compact reception rooms, original boards, and furniture layouts that maximise limited space. That means there is less margin for clutter, poor sequencing or careless storage.
Practical local considerations often include:
- Narrow access routes that require careful furniture removal planning
- Original pine boards with character marks that need preservation, not over-sanding
- Decorative fireplaces and alcoves that require extra edge protection
- Close room-to-room layouts where adjacent decor must be shielded properly
- Noise and timing considerations for neighbours in converted or shared buildings
Where there is original timber, the sanding process should always respect the floor’s remaining wear layer and overall condition. That is especially important if the floor has already been sanded in the past or includes engineered boards rather than solid timber.
What to ask your floor sanding contractor before work starts
If protecting your decor is a priority, ask direct questions before booking. A reputable contractor should be able to explain not only how they sand the floor, but how they manage the room.
- What level of dust control do you use in practice?
- How should we prepare furniture, fabrics and decor before arrival?
- What masking or perimeter protection do you use?
- How do you handle access between refurbished and non-refurbished rooms?
- When can furniture, rugs and decorative items safely go back?
- Which finish do you recommend for our household routine and interior style?
If a company gives vague answers here, that is a warning sign. Strong craftsmanship shows up in the planning as much as in the finish coat.
Internal decor protection and floor longevity go hand in hand
A carefully protected room is usually a sign of a carefully executed refurbishment. Homeowners often think of decor protection as a courtesy issue, but it is actually linked to workmanship. Teams that manage furniture properly, keep the work zone controlled, respect painted surfaces and advise clearly on curing times are usually the same teams that pay attention to sanding sequences, edging quality and final finish consistency.
If you are also weighing broader refurbishment decisions, these existing guides may help:
professional hardwood floor sanding,
how sanding can add value and reduce noise, and
how to restore tired boards quickly.
You can also review local service details on the prices page and arrange next steps via the request a callback page or the contact page.
Final thoughts
Protecting your interior decor during a wood floor refurbishment is not about wrapping everything in plastic and hoping for the best. It is about planning the room properly, sequencing the work intelligently, choosing the right finish, and respecting the fact that your floor sits within a fully designed living space. In West Brompton homes, where period detail, compact layouts and considered interiors are common, that joined-up approach matters even more.
A successful refurbishment should leave you with more than beautifully restored timber. It should leave your home feeling brighter, calmer and better put together, with the surrounding decor preserved rather than disturbed. When the floor team takes that wider view, the result is not just a better floor. It is a better room.