Transform Your Space: Squeaky Repairs Revealed for Peaceful Floors
There’s a special kind of fury reserved for a floorboard that squeals every time you cross the room. You tiptoe; it howls. You shuffle; it answers with a chorus. A squeak seems small, yet it shatters calm, interrupts conversations, and declares to every guest that something beneath your feet isn’t quite right. This is your calm, practical guide — Squeaky Repairs Revealed — to diagnosing the noise, choosing the right fix, and restoring hush to your home.
We’ll explore why floors complain, how to pinpoint problem spots, and the exact steps to banish the racket whether you live in a Victorian terrace, an Edwardian maisonette, a modern flat with underfloor heating, or a family house with a timber deck over a ventilated void. By the end, you’ll know when a DIY solution is enough and when to bring in seasoned professionals who can silence the symphony for good.
Why floors squeak (and why it gets worse at the worst times)
Squeaks happen when two parts of your floor system move against each other and create friction. The culprits are usually:
- Loose boards over joists: Nails or staples that have loosened let boards rub on the fastener or the joist.
- Gaps between subfloor and joists: A slight void allows the subfloor to flex and chatter.
- Seasonal timber movement: Wood swells in damp winters and shrinks in dry summers, changing how components meet.
- Floating floors over underlay: Laminates and engineered click systems can squeak if the underlay compresses unevenly or if expansion gaps are wrong.
- Stairs and landings: Treads and risers shift, wedges loosen, and glue blocks dry out.
Add temperature shifts or the warm-up cycle of underfloor heating, and the noise can peak exactly when you want peace. The good news? Once you know where and why, the cure is methodical.
The Rage Renewal Ritual: a simple framework to restore silence
Think of this as a sequence, not guesswork. Our 7-step Squeaky Repairs Revealed framework moves from least invasive checks to robust structural fixes so you don’t overtreat a simple problem—or ignore a deeper one.
Step 1: Map the noise precisely
Walk the room in socks. Mark every squeak with a bit of painter’s tape or chalk. Note direction of travel and where weight triggers sound. If possible, have someone below (in a basement or accessible ceiling void) listen to triangulate the spot from underneath.
Step 2: Identify the construction
Is your finish floor solid timber, engineered wood, laminate, or bamboo? Is it secret-nailed, glued, floated on underlay, or screwed? Over timber joists or concrete? Different builds suggest different fixes:
- Secret-nailed over joists: Likely board-to-joist friction or loose fasteners.
- Floated engineered/laminate: Often underlay compression, click-joint rub, or missing expansion gap.
- Glue-down engineered or parquet: Localised debonding is possible.
- Stairs: Loose wedges, dry glue blocks, or tread/risers separating.
Step 3: Check the environment
Measure relative humidity (RH). Timber is happiest between 40–60% RH. Prolonged dryness shrinks boards and invites squeaks. Over-humid conditions can also drive movement. Stabilise the environment first: adjust heating schedules, consider a humidifier or dehumidifier seasonally, and allow underfloor heating to ramp up and down gently.
Step 4: Try surface-level, reversible fixes
For minor chatter between tongues and grooves on finished floors, sprinkle a dry PTFE powder or a specialist floor lubricant sparingly into seams, then work it in with movement and vacuum excess. (Avoid talc near babies/pets; avoid oils that can stain or affect adhesion during future refinishing.) Tighten loose thresholds, add felt pads under furniture, and ensure door closers aren’t hammering the same spot repeatedly.
Step 5: Firm up boards—screw, plug, and bond (where appropriate)
Where you can see the subfloor from below, drive trim-head wood screws up through the joist into the underside of the board to pull components tight. From above (on softwood floors destined for refinishing), you can pilot, countersink, screw and plug: drive a quality screw into the joist, then hide the head with a well-matched timber plug bonded with PVA. For engineered boards, use appropriate lengths and positions to avoid puncturing the finish layer or pipes/cables.
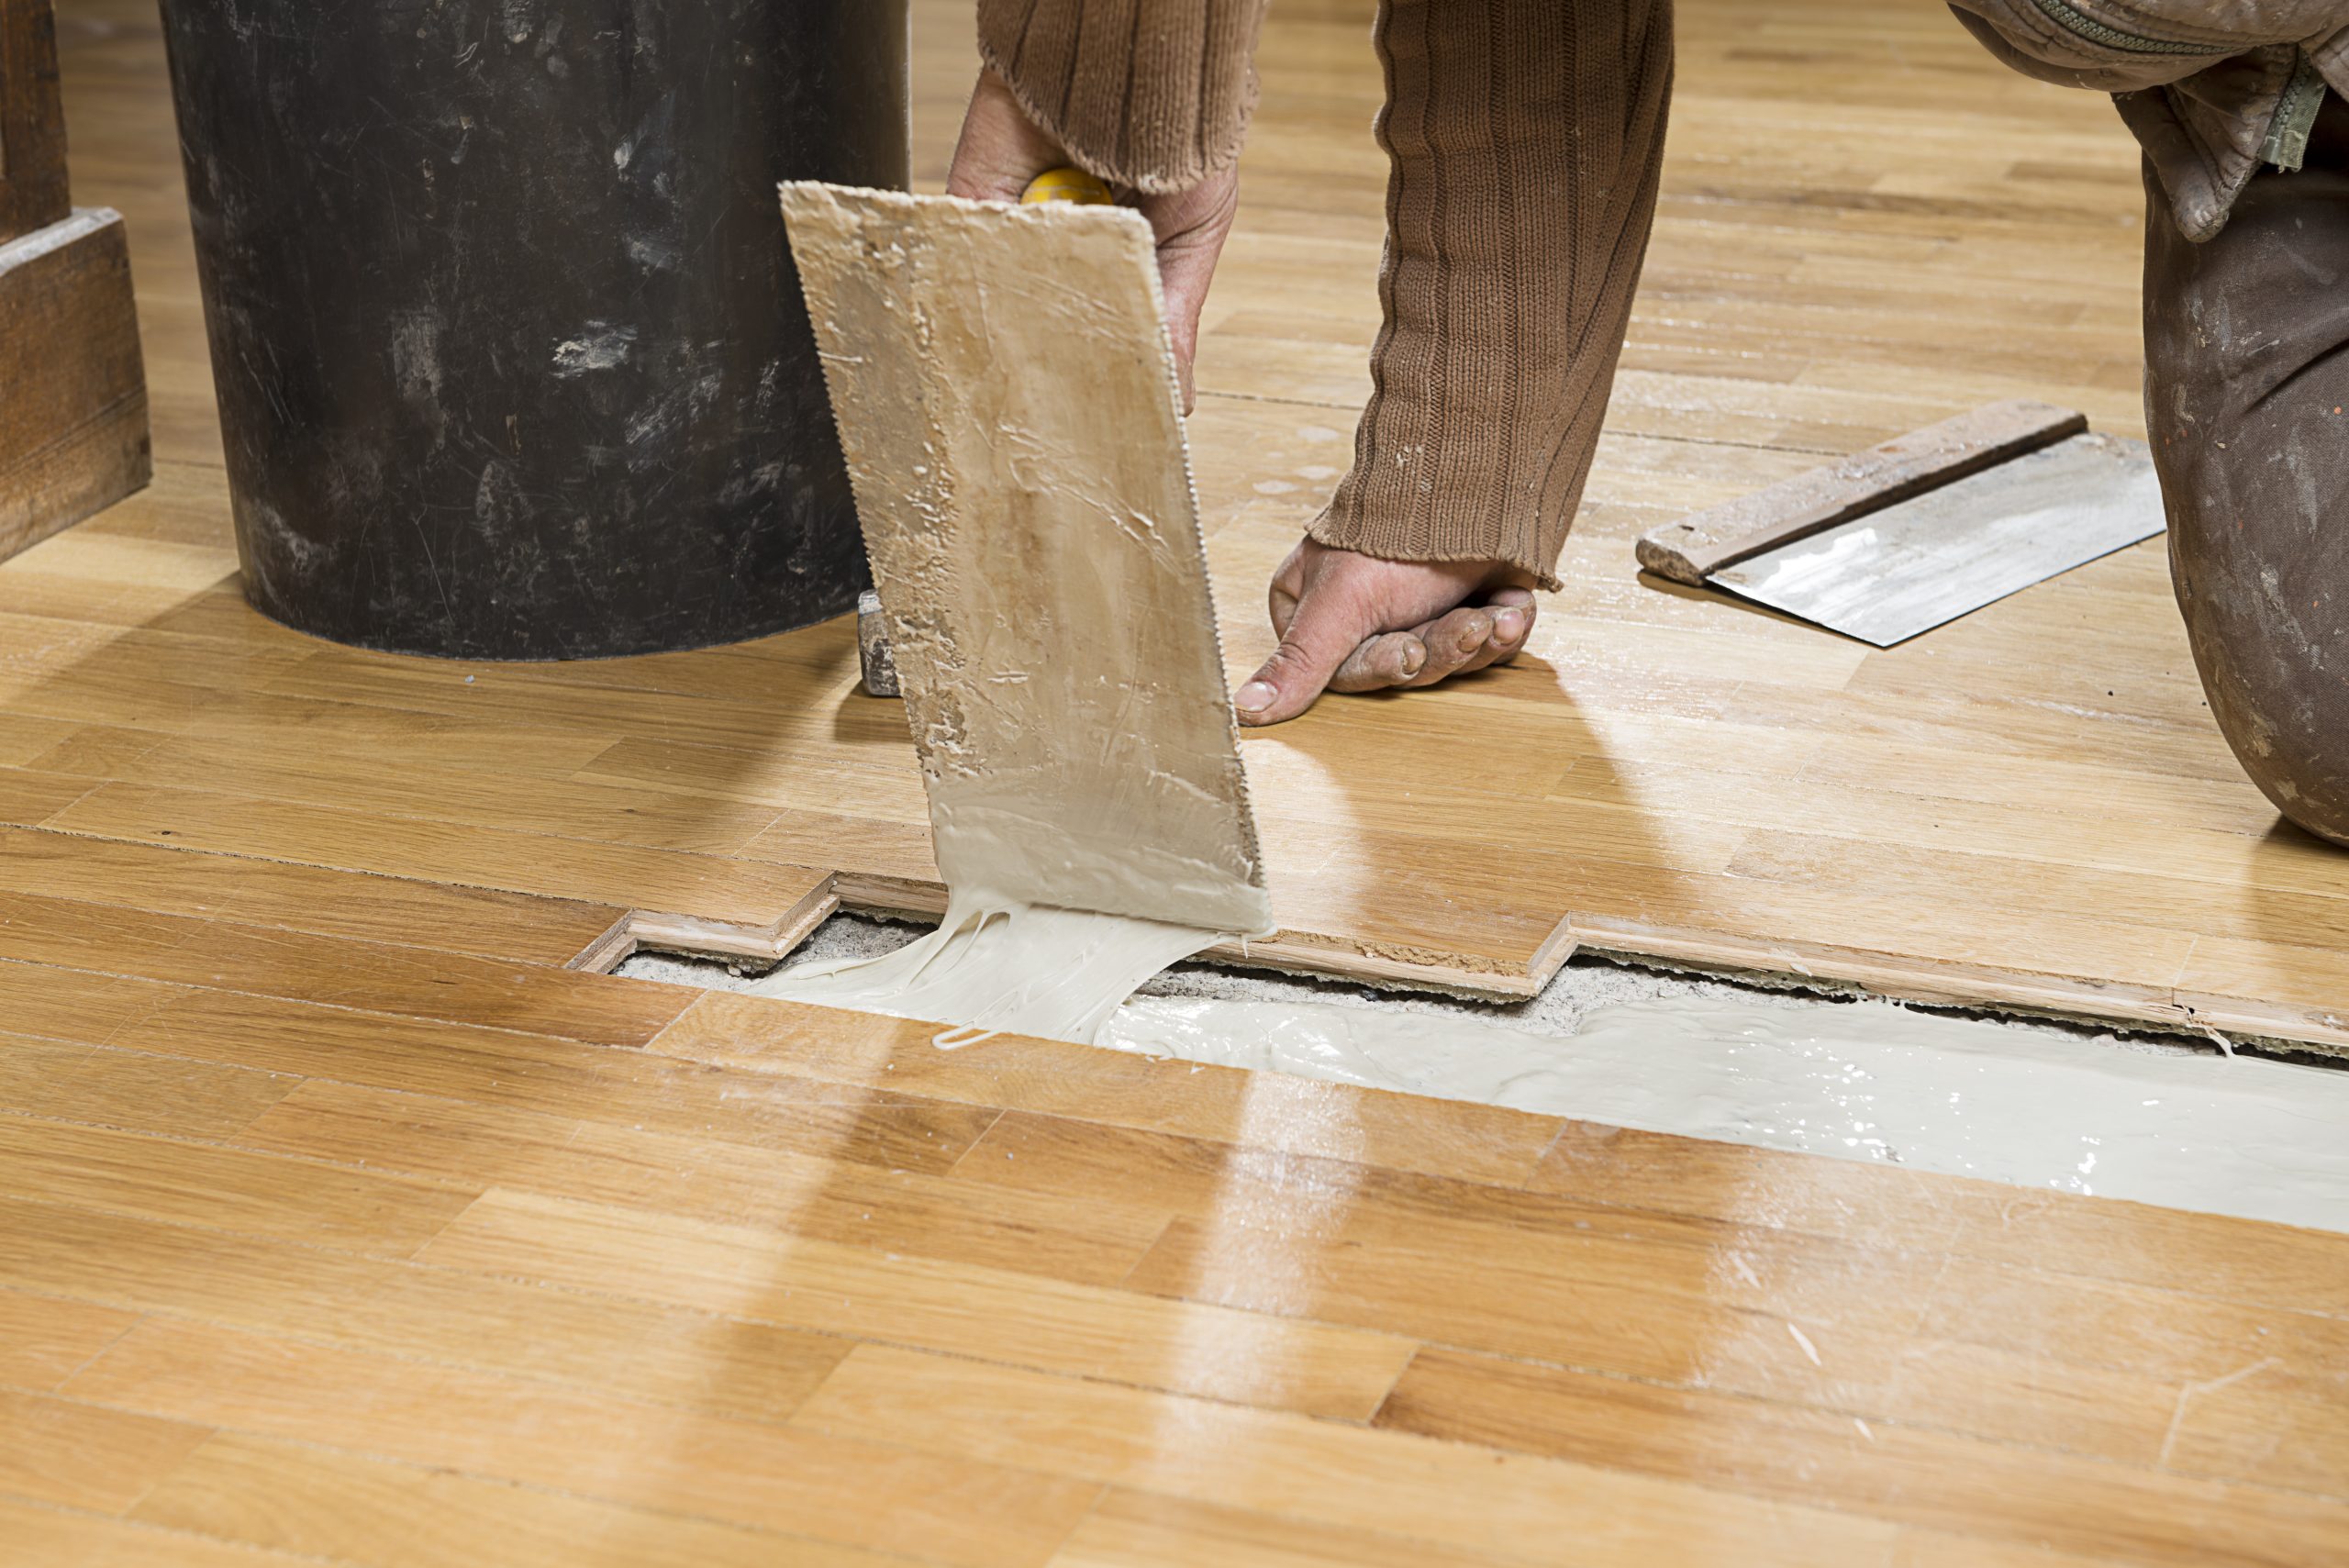
If a board edge is moving, a careful adhesive injection (wood glue or polyurethane construction adhesive designed for subfloors) can bond loose tongues—go slow, clamp or weight the area, and wipe squeeze-out immediately.
Step 6: Cure subfloor and joist chatter
If the subfloor flexes on a joist, “sister” the joist locally or add blocking/noggins to stiffen the span. Where there’s a detectable gap, apply construction adhesive along the joist line and secure with screws at the proper spacing to marry the layers. Metal L-brackets can stabilise errant joist-to-ledger connections. Always observe cable and pipe zones.
Step 7: Float with finesse (for floating floors)
Persistent squeaks in floating laminates or engineered systems often point to underlay issues or an absent expansion gap. Lift a saddle or skirting to check that the floor can expand freely. Replace crushed or unsuitable underlay with a product specified for your floor type and subfloor; on concrete, include the correct vapour barrier. Re-lay boards carefully so click joints are fully engaged without stress.
Special scenarios that need tailored tactics
Stairs and landings
Knock home or replace wedge blocks under treads; re-glue loose risers; add discreet brads through the tread into the stringer; reinforce with new glue blocks where original adhesives have failed. A squeaky stair can often be cured without visible fasteners if you work from beneath.
Floors over basements or accessible ceilings
Working from below is a gift: you can shim gaps, add adhesive beads to joist lines, and fix from the underside without touching the finish floor. Always avoid over-shimming, which crowns the floor and can create a new creak along the edges.
Concrete slabs and apartments
Acoustic regulations matter. Impact noise (thuds) is different from friction squeaks, but both benefit from the right underlay and a correctly detailed perimeter. Avoid bridging the expansion gap with plaster, foam, or debris; that “short-circuit” is a classic squeak maker.
Tools and materials you’ll appreciate having to hand
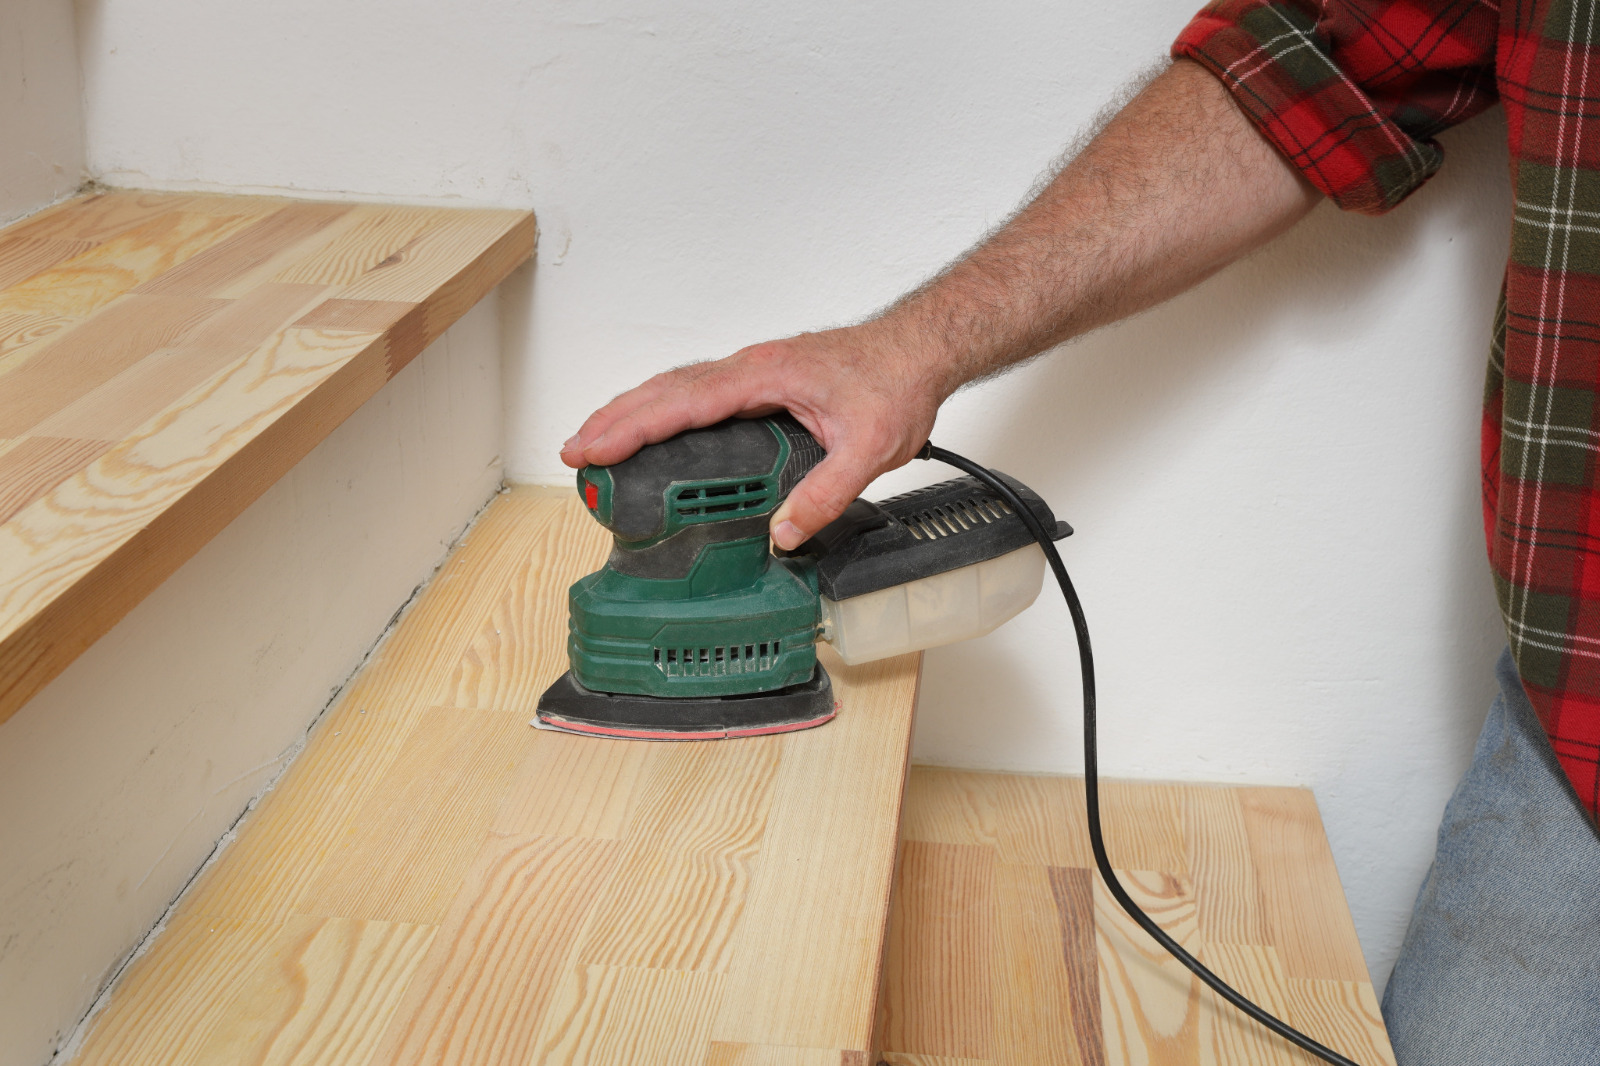
- Cordless drill/driver, impact driver (with clutch), pilot and countersink bits
- Trim-head wood screws in assorted lengths; wood plugs for softwood floors
- PTFE dry lubricant or specialist floor lubricant (non-oily)
- Construction adhesive suitable for subfloors; quality PVA for plugs/blocks
- Pry bar, tapping block, rubber mallet, and floor-safe wedges
- Moisture and RH meters; stud/joist finder; cable/pipe detector
- Painter’s tape, chalk, vacuum, and microfibre cloths
- Safety kit: eye protection, dust mask, knee pads, gloves
DIY or professional? Knowing when to call in help
If your home has hidden services (pipes, electrics) near the squeak, ornate heritage floors that require plug-matching, or an expanse of click-engineered boards over underfloor heating, consider expert hands. A trained team brings subfloor adhesives, low-profile fixings, precision detectors, and finishing skills that keep repairs invisible. For a surveyed plan and a guaranteed result, book through the specialists behind Squeaky Repairs Revealed.

A calm case study: a West Brompton hush-mission
Picture a first-floor flat with engineered oak over joists, a hallway that cries the moment shoes cross the threshold, and a living room that squeaks when the heating clicks on. Mapping identified three hotspots: a joist interface under the hall runner, a loose threshold at the lounge archway, and a floating “flutter” near the radiator.
- Hall hotspot: From beneath (via a service hatch), the team found a 2–3 mm gap between subfloor and joist. They ran a controlled bead of construction adhesive along the joist line and fixed with trim-head screws from below, pulling layers tight without marking the finished surface.
- Threshold: The saddle had loosened and was telegraphing movement. A countersunk screw-and-plug through the saddle into a solid backing, plus a smear of adhesive, eliminated the chatter.
- Radiator flutter: The underlay was crushed around a pipe penetration. After carefully lifting boards in that zone, the installers trimmed the underlay neatly around the pipe, added a rigid support ring, restored the expansion allowance, and re-clicked the boards.
Result: with Squeaky Repairs Revealed, the hallway regained its dignity, the lounge fell quiet even as the heating cycled, and the owner’s evening finally sounded like… nothing at all.
How long does it take? What might it cost?
Every home is different, but use this as a sensible guide:
- Minor squeaks confined to a small area: often solved in a single visit, especially if accessible from below or if a simple threshold/fastener issue is to blame.
- Multiple hotspots across a room: allow half a day to a day for mapping, selective screw-and-plug work, adhesive cures, and acoustic tidying.
- Complex builds (underfloor heating, click-engineered over concrete): may involve partial lifting and re-laying with new underlay components, planned over a day or two depending on area.
Budgets vary with access, finishes, and whether refinishing or re-edging is part of the plan. A professional survey will pin this down precisely and avoid guess-spend.
Aftercare: keep it quiet for the long haul
Even after Squeaky Repairs Revealed, a peaceful floor depends on the right habits:
- Stabilise the environment: Aim for 40–60% RH. Use gentle heating cycles, particularly with underfloor systems.
- Mind the furniture: Fit felt pads and avoid dragging heavy items across boards.
- Respect expansion gaps: When redecorating, don’t bridge the perimeter gap with caulk, filler, or skirting sealant.
- Clean smart: Damp-mop, never wet-wash. Excess moisture swells edges and stresses joints.
- Seasonal check-ups: If a faint squeak returns as seasons change, mark it, note conditions, and address early before it worsens.

FAQs
Are squeaks a structural danger?
Usually not. They’re typically a nuisance rather than a safety issue. However, a sudden, localised movement or a sag can indicate a structural concern—seek professional assessment if in doubt.
Will refinishing alone stop squeaks?
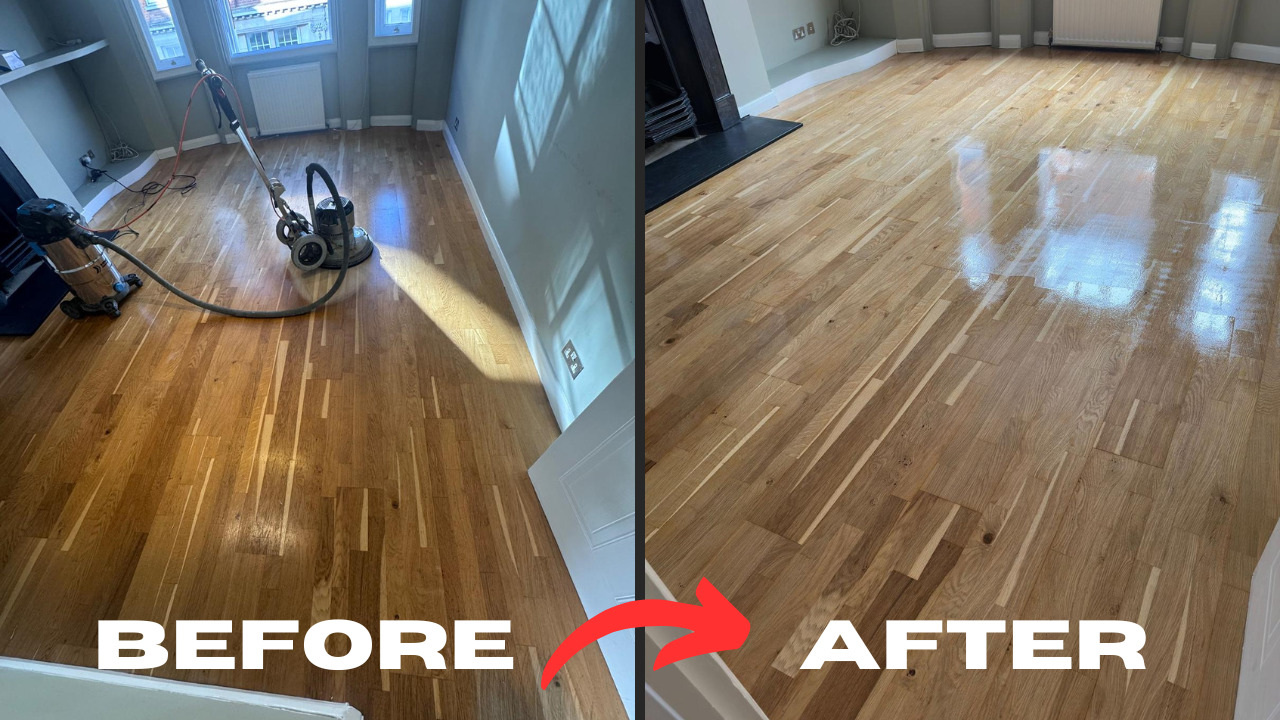
Sanding and coating beautifies the surface but doesn’t cure movement beneath. Address fasteners, subfloor interfaces, and underlay first; refinish afterwards if needed.
What about talcum powder hacks?
It can work in a pinch but is messy and not ideal in family homes. Prefer targeted dry lubricants designed for interiors, and keep powders away from children and pets.
Can underfloor heating and quiet floors coexist?
Absolutely. The key is a proper build-up (the right underlay, expansion detailing) and gradual heating schedules. Rapid temperature swings exaggerate movement and squeaks.
How do I avoid hitting pipes or cables?
Use a quality multi-detector and work to known service zones. When uncertain, fix from below or consult pros who can trace services safely.
Is a floating floor always noisy?
No. A correctly installed floating system over suitable underlay with maintained expansion gaps can be whisper-quiet. Noise often points to an installation detail that’s easy to correct.
The tidy difference professionals make
- Diagnosis, not guesswork: Heat cycles, RH logs, and subfloor access determine the why before the what.
- Invisible finishes: Plug-matched repairs, crisp saddle refits, and perfectly re-set skirtings keep the look pristine.
- Future-proofing: Correct underlay choice, re-detailed expansion zones, and subtle blocking create lasting hush.
- Peace guaranteed: Many reputable teams stand by their work; a survey makes the plan and cost crystal clear.
Ready to calm the chorus?
If floor noise is testing your patience, you’re not alone—and you don’t have to live with it. Start by mapping the squeak, try the reversible steps, and then bring in specialists who silence the source rather than mask the sound. For a thorough survey, a clear plan, and a beautifully quiet result, begin with Squeaky Repairs Revealed.